H.M.A.S. Canberra and the Battle of Savo Island

Sinking of Canberra

MY EMBROIDERED CAP BADGE AND BRUCE LOXTON
Even in times of crises, one acts quite illogically. During my Sub Lieutenant's courses In England, I had purchased a gold embroidered cap badge from "Gieves", the famous Naval outfitters. The officer cap badges available in Australia were, at this stage, stamped out of metal. I prized my Special cap badge and on reaching my action station in the fore control, I had thrown my cap and badge into a corner to don my tin hat. I decided to try and retrieve my cap and badge. I made my way up to the starboard side of the bridge area and finally scrambled up to the fore control, alas, no cap or badge, just a large hole where I had discarded them - so much for foolish pride.

On my way down, I came across two sailors with a body on a stretcher. They were lifting up this person to drain away the trapped blood. On investigation I made out Bruce Loxton, who as the Captain's Midshipman on the bridge, had been severely wounded. Bruce had ghastly wounds and I did not believe he would survive. He was conscious and I said "How are you Bruce?" His response was "I will be alright" and his fighting spirit pulled him through. He survived and continued as an Executive Officer in the RAN, to retire as a Commodore.

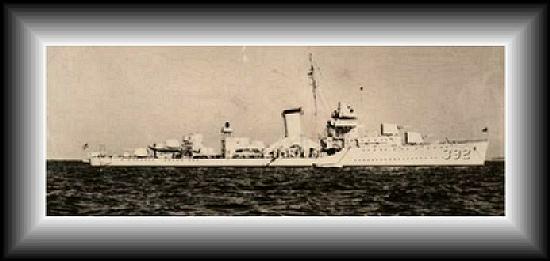
PATTERSON TO THE RESCUE

U.S. Patterson

At about 0330, PATTERSON came alongside our port side forward of the 4" Gun Dock. She provided pumps and hoses for fire fighting and proceeded to take on board wounded from the fore half of CANBERRA. Captain Getting was amongst those removed to PATTERSON. We were informed by PATTERSON that Rear Admiral Turner had indicated if CANBERRA could not steam by 0630, she would have to be abandoned and then sunk. At 0430, PATTERSON ordered all lights to be extinguished - she had sighted a hostile ship on her Port Quarter so she quickly slipped or cut all lines.

I vividly recall her captain's reassuring words "don't worry, we'll be back." As PATTERSON quickly got underway, the enemy ship opened fire. I still had my 1900 binoculars (from the fore control) around my neck. I quickly used them and recognized CHICAGO - she had mistaken CANBERRA for a burning Japanese cruiser. PATTERSON used her search light and exchanged fire with CHICAGO before their true identity was established. Both ships ceased fire. Another error in a night that may well be described as a comedy of errors - but then, we did not have much to laugh about. It commenced to rain to add to our discomfort.

At about this time, the ship's list suddenly increased and Lieutenant Commander Mesley ordered "stand by to abandon ship" I discarded my boots but kept my binoculars. CANBERRA steadied and the final order to leave was not given - at that time. I put on my boots again.

SURVIVORS REMOVED
As daylight broke over the area, PATTERSON, keeping her promise, returned and secured Starboard side Aft and proceeded to take on board the ship's company gathered there. BLUE secured to the Port side Forward and took off the rest of CANBERRA'S crew, including myself; the time was about 0630. BLUE transferred her load of survivors to the transport FULLER, whilst PATTERSON transferred her survivors to BARNETT.

Picture of Canberra survivors, from the Melbourne Sun News Pictorial.

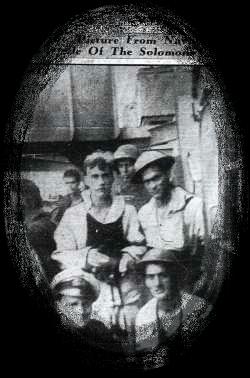
Author is in center, holding binoculars
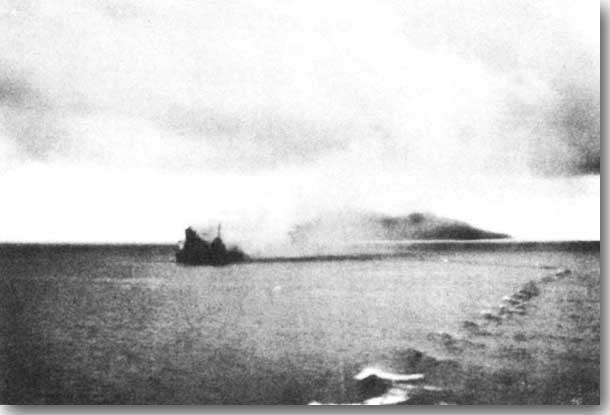
[ click for enlarged photograph ]

SINKING OF CANBERRA
I did not actually see CANBERRA sink, but Gill in his book "Royal Australian Navy 1942-45" reports that the US destroyer SELFRIDGE, attempting to sink CANBERRA, fired some 263 x 5" shells and 4 torpedoes. It was left to the USS ELLET to administer the coup de grace with one of her torpedoes and at 0800, our ship finally slipped beneath the waves; at last she was gone.

[Image]

COULD CANBERRA BE SAVED?
Could CANBERRA have been saved and towed to safety? My initial reaction was "perhaps", but that question needs a lot of research and thought before any definite answer could result. Time was against us, given Turner's orders and his decision to withdraw.

Canberra sinking

Canberra sinks with Savo Island in the background


Illustration of Canberra at sea prior to Savo."

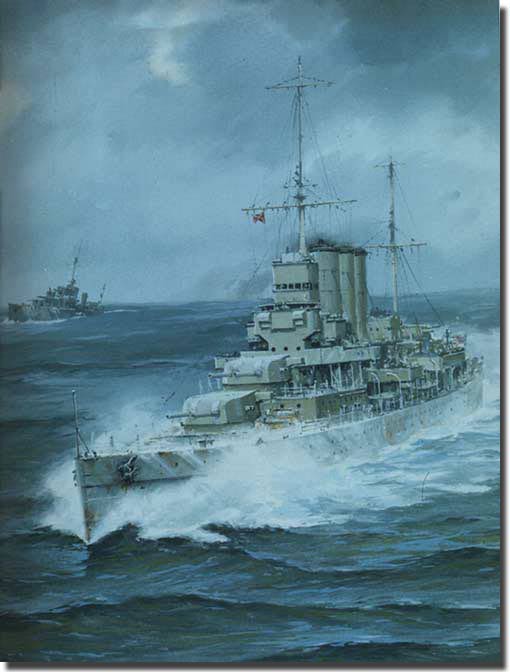
Illustration of Canberra at sea prior to Savo.

WITHDRAWAL
Turner then withdrew the entire surface force and the Marines were left abandoned with only part of their equipment and food supplies unloaded.

REASONS FOR THE JAPANESE SUCCESS - AND SUBSEQUENT ENQUIRIES
Crutchley attributed the Japanese success to;

1. Lack of experience - particularly in night fighting.

2. Lack of alertness in almost every ship due to fatigue.

3. Absence of AUSTRALIA from Southern Group.

4. Failure of the majority of ships to receive the TRS warning broadcast by PATTEPRON.

US OUTCRY
After the loss of 3 American 8" cruisers at Savo Island, there had been an outcry in the American Press. Why were these ships under the command of an English Admiral? Who was to blame etc., etc.,? Admiral A. J. Hepburn USN, Ret., was selected in December 1942 to interview all relevant personnel involved in "Watch Tower" and report to Admiral King USN.

Hepburn travelled widely, accompanied by Commander Ramsay USN, visiting Australia, seeing MacArthur, Crutchley and Australian politicians, but did not interview any RAAF aircrew. He produced a very detailed report running to about 85 pages

next chapter
back to Canberra/Savo index


This site was created as a resource for educational use and the promotion of historical awareness. All rights of publicity of the individuals named herein are expressly reserved, and, should be respected consistent with the reverence in which this memorial site was established.

Copyright© 1984/2014 Mackenzie J. Gregory All rights reserved